You can install VMware ESXi on VirtualBox without having to deal with real hardware. Sure, the performances are not so good, but this setup it’s a little test lab you can use to take confidence with the ESXi platform.
The only limitation is you can virtualize only 32bit systems. Not a big deal…
To install ESXi on VirtualBox you need:
- a working installation of VirtualBox
- ESXi installation ISO
- a virtual machine configured correctly
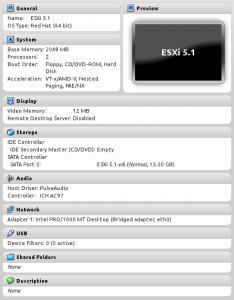
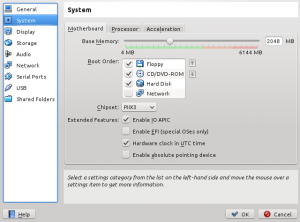
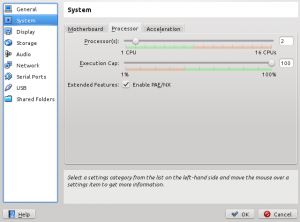
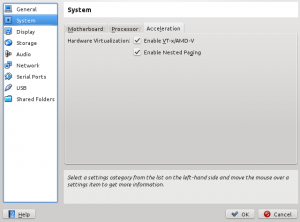
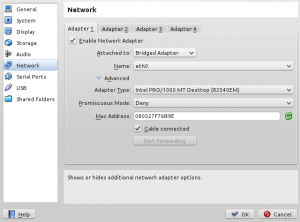
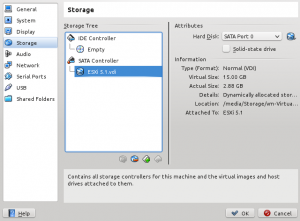
First, create a new virtual machine (Linux based, like Red Hat 64bit) with at least 2 virtual processors, the IO APIC option, 2GB of RAM, a SATA storage controller and one of Intel network card. With 10 or 15 GB of storage (the virtual disk) you can install ESXi and a couple of virtual machines.
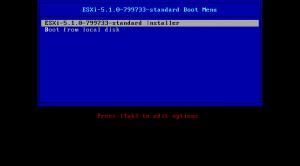
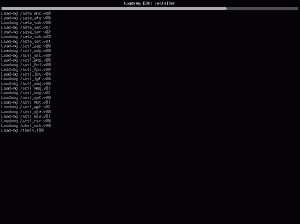
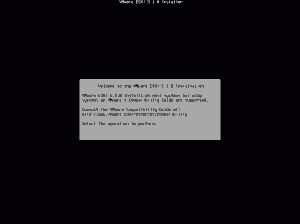
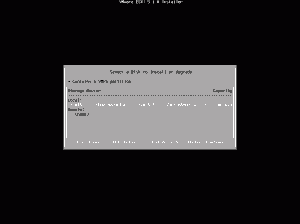
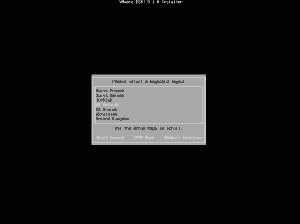
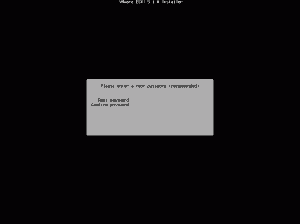
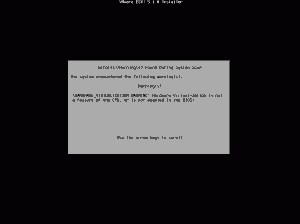
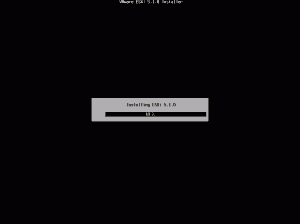
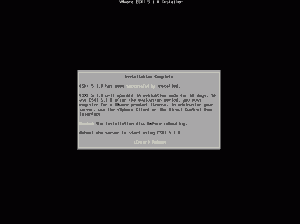
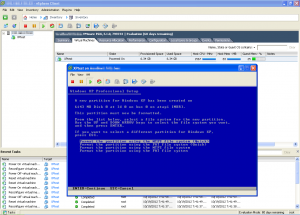
Now you can boot with the ESXi ISO installation the new virtual machine and follow the setup procedure…
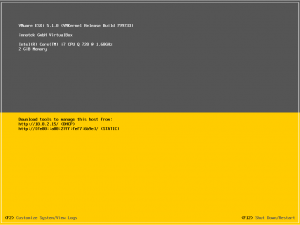
Now, open your browser and go to the web administration interface (the IP address of the ESXi server, the second line on the yellow half screen). Install the vSphere Client to manage your brand new ESXi virtual installation 😉
NOTE: for this experiment I have used VirtualBox 4.1.22 installed on my Ubuntu Linux.


3 Comments
tim carroll · May 8, 2013 at 21:23
I have read a few of these same posts – no one ever actually tells you how to create a vmguest once they install esxi –
Håkan Rohdin · May 30, 2013 at 20:12
For creating a guest you need VMware vSpere Client. Install it on your normal PC and connect using the IP you gave your ESXi host, the user name root and whatever password you selected. This will give you an easy to use GUI.
Gnana · August 25, 2013 at 08:12
I have configured EsXi 5.1, Vcenter in the Virtual box. But iam unable to ceate any vm inside the ESXi. Can any one help me